Company Notes
Use the Company link to:
- Modify the company name, address, and primary contact person
- View all the logins for a company
- Set the company preferences for units of measure and/or company security settings
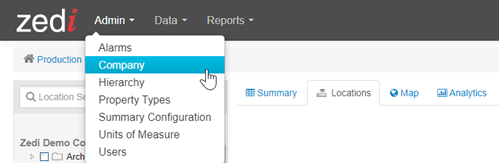
To access the Company link, choose Company from the Standard Function bar.
Entering or modifying basic company information
Use this procedure to enter new information for a company such as company name, address, and primary contact.
- Choose Company from the Standard Function bar.
The Company Maintenance screen opens with the information it currently contains displayed.
Note that this screen also contains links to up to three other areas (depending on your permissions) where various functionality is configured ("Company Security Settings", and "View User Logins").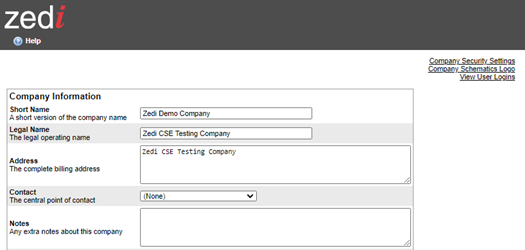
- Make changes and updates as needed on this screen and click the Save link at the bottom right corner of the screen.

Entering or modifying company units of measurement and sensor types
Many different modes of measurement are used today, and Zedi Access allows you to choose the units your company uses for day-to-day business.
Any changes in the Company function will affect the ENTIRE company and NOT the individual user.
1. Click on the Units of Measurement link from the Standard Function bar.

2. A window opens, listing units of measurement (and defaults) for various aspects of data as defined for your company.

3. Click on the Sensor Class tab to display the various sensor classes and types, and their current override and default settings.
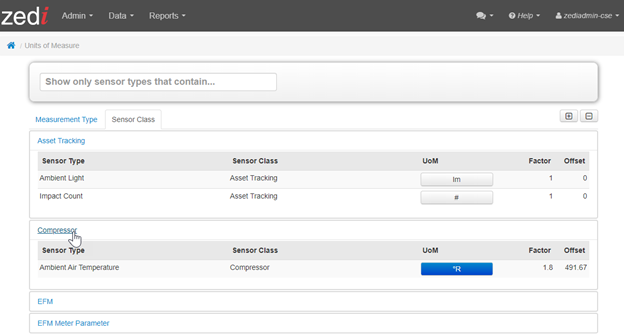
4. To make changes, use the drop-down lists. New values become active as soon as you select them.
5. Click the close box when finished.
Viewing user logins
Use this procedure to view either summary or detailed information about who has been accessing your company's secure web portal, and when.
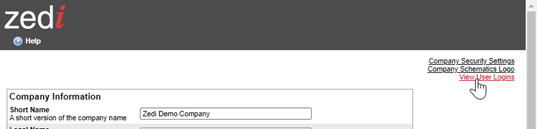
1. Click on the Company in the standard function bar, and choose the View User Logins link from the Company window.
A window opens showing summary login activity.
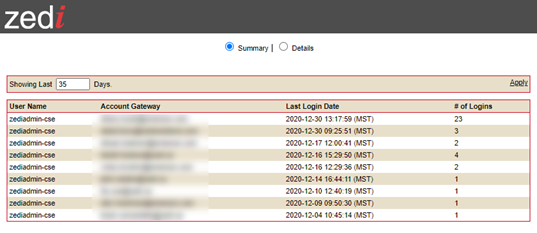
Information provided here includes the number of times a specific user has logged in, and the date and time of the last login.
2. To view more or fewer days' information, change the number in the "Showing Last xxx Days" box, and click the Apply
link.
3. To view detailed information, click the Details radio button. This lists the date and time of each and every login for all users.
4. Click the close box when finished.
Defining company security settings
Use this procedure to define various aspects of web portal security settings such as user password length and content requirements, account lock-out behavior and so on.
- Click on the Company in the standard function bar and choose the Company Security Settings link from the Company window.

A window opens showing current security settings for your company.

Click the Update Security Settings button at the bottom of the form when finished.
Customer support service by UserEcho