Hierarchy Administration
ADMIN – HIERARCHYYou can use Zedi Access to manage your wells and the data, Hierarchy allows for customization of the Well Tree Hierarchy and how customers are able to organize their locations. For example, you could breakdown your hierarchy in various districts, areas and fields in which locations preside. A companies Hierarchy is the same for everyone with a user login. This section contains the procedures for creating, deleting, and renaming districts, areas and fields within the Well Tree.Adding Fields1. Click the Hierarchy tab from the Admin drop down menu.
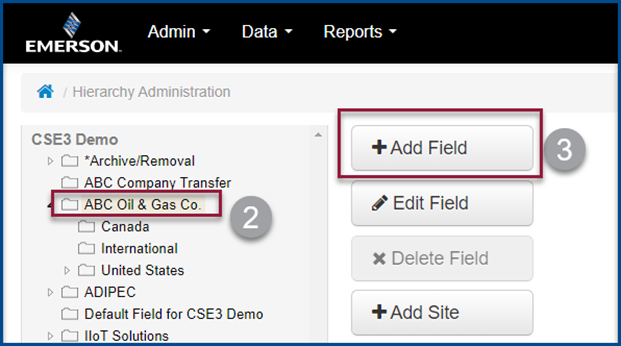
2. Select a Folder in the Hierarchy you would like to add the Field.3. Click Add Field.
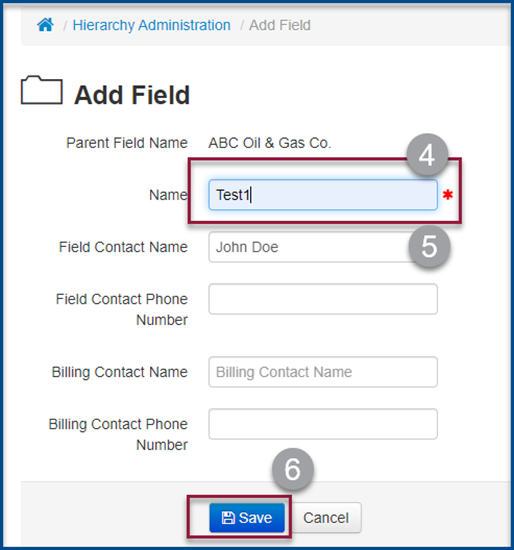
4. The Add Field window is displayed. Enter the Name of the Field.NOTE: Name must not start with spaces, trailing spaces or the character “>”.5. Enter the Field Contact name and phone number, along with the Billing Contact name and phone number, if you wish.6. Select Save.
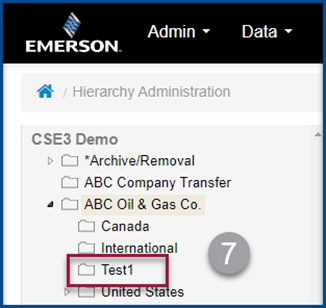
7. The new field has now been added to your hierarchy.
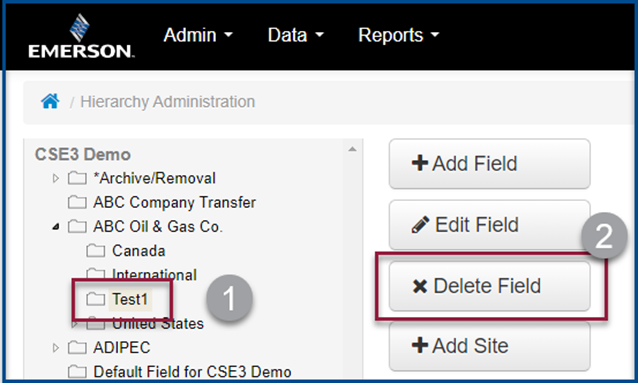
DELETE FIELD1. Select the Field to delete in the Hierarchy.2. Select Delete Field.
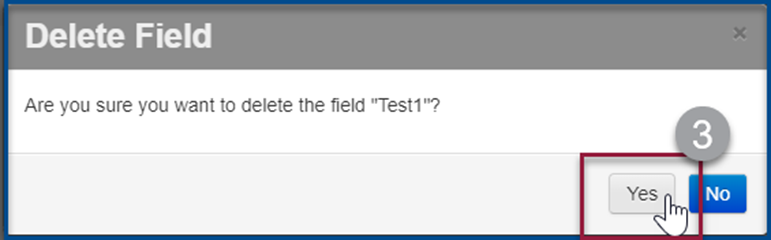
Note: You can only delete a Folder if it does not contain any wells - including wells your account does not have access to. The Delete Field Option will be greyed out.3. Delete Field box will pop up to confirm that this is the action that you would like to take. Select Yes or No. If you have selected yes, this field will be deleted.
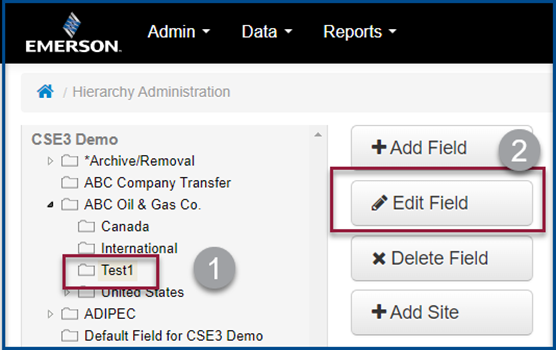
RENAME FIELD1. Select the Field to rename in the Hierarchy.2. Select Edit Field.
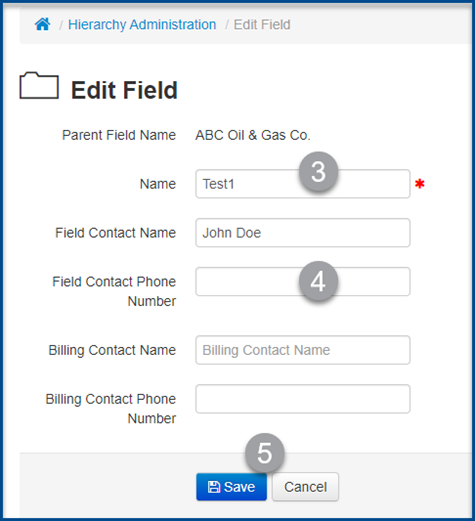
3. The Edit Field window is displayed. Enter the Name of the Field in the box that you would like to change it too.NOTE: Name must not start with spaces, trailing spaces or the character “>”.4. Ensure that the Field Contact and Billing Contact’s name and phone number are up to date.5. Select Save.
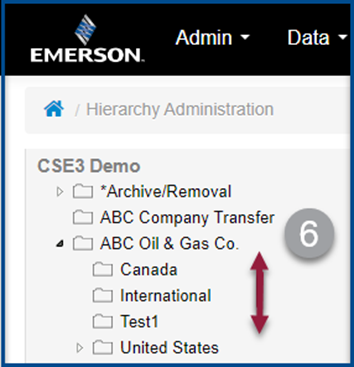
6. The level now appears in the hierarchy with its new name. Move a Location or Folder - Drag and Drop. Select the Folder or location to which you want move. Drag it into the level of destination.
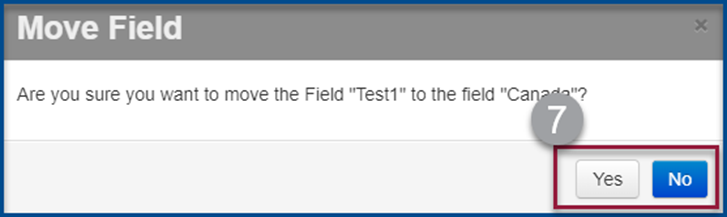
7. A window will pop up to confirm you want to move the location or Field. Select Yes or No.
|

Customer support service by UserEcho